Introduction
It’s been a while now since I added a Drop Pod Assault army to my Sons of Horus, bringing most of them over from 1.0. Now I’ve got some experience behind me with it, I thought about writing this tactica. Sons of Horus are a melee-focused army, with a nicely balanced core to them, so with that in mind this is still fairly applicable to most Legions out there, but you can definitely get some great shenanigans out on the table in a pure melee-focused Legion such as World Eaters as this Rite helps with overcoming the distance issue those Legions have to overcome to get their traits into action.
The thing about any Drop Pod Assault is that it generally is a gorgeous army to behold and is cream of the crop for rule of cool. If you’re popping out a Kharybdis and a few Dreadclaws, people in an FLGS generally gravitate to them – they’re just so damn cool. But there is a price to them – they’re resin or resin/plastic mix. Not to mention the Kharybdis is for some reason a whopping £220.

Building Resin Drop Pods
When it comes to building Kharybdis and Dreadclaws, Patience is key, along with preparation, and having adequate time and tools.
Once you’ve removed the excess from your resin, paired up the plastic parts (in the case of the Dreadclaw), make an assessment on the condition of the seams. Dry fit the panels, using a hairdryer to reshape panels as necessary.

Take your time, grab some Superglue and activator and use it to “tac-weld” the panels into place, before going back in and setting them in place properly once all is well.
With the Kharybdis, you just need to make sure the sides of the panels of the first two go together and overlap and nestle where they should. This seems a bit obvious, but dry fitting, shaping with a hairdryer and then tac-welding in with activator makes the process incredibly simple. Mine took around 30 minutes to build.
Dreadclaws are even simpler. Same framework – patience and accuracy – but in this case it’s all relative to the thruster alignment. Get that in the right place and you’re sorted. If you don’t it’ll all be out of whack and take ages to realign. The way to do this is to ignore the instructions, pop on two side fins either side of a panel, then connect the thruster to the top of the fins. Once that’s tac-welded into place, build the rest from there by popping fins on, then panels in between. It should all go together smoothly as you have set the thruster unit in the correct place.
I’ve built a number of horrific kits, Storm Eagles and Fire Raptors, and a number of complex kits in the form of Warhound, Reaver, Warlord Titans (along with Revenant and Phantom Titans) and honestly, most of the memology of resin kits is overblown.
Warhound feet aren’t a nightmare when you’re patient and pre-plan the build. Neither are Kharybdis or Dreadclaws. Fire Raptors and Storm Eagles are the most difficult, but that’s because even if you spend time straightening out the resin parts so they’re true, it’s unlikely that you will get it perfect first time and the plastic parts can be bent too. There’s a lot of fiddling about as a result – but that isn’t the case with a Kharybdis and Dreadclaw. You have to cut the plastic pod doors on the Dreadclaw, but planning (measure twice, cut once) and using the right tools makes it comparatively simple.
If you’re finding building a Special K or Dreadclaw difficult, it isn’t the model kit in most cases – it’s a skill issue (take that in the light hearted manner it’s delivered). Prior to starting gather your tools and glues and allocate around 30-40 minutes of build time (double if you’re new to resin) per model. Remember, there’s no shame in realising you’re having a mare and taking a break either, mental loading is a factor here. Take a breath, go make a cup of tea, and take another look at it when you’re calm.
Rite Details
The devil is in the details with Rites of War, with a fair few having some second order effects atop their core benefits. Drop Pod Assault isn’t any different in this regard. It is quite a balanced Rite however, despite the fact it jumps off the page initially as potentially quite oppressive, with it’s ability to bomb units in really close on turn one.
| Effect | Remarks | 2nd Order |
| All units using this Rite of War eligible to take a Legion Rhino or Land Raider Dedicated Transport may instead take Legion Drop Pods or Dreadclaw Drop Pods as Dedicated Transports | This is quite the collection of potential units as a vast number of them are covered by that Rhino or Land Raider requirement in their rules. Some units don’t have those as Dedicated Transports though. In this regard, you’ll need to take either a Kharybdis or Dreadclaw in Heavy Support or Fast Attack respectively to bring them along. Dreadclaws have a transport capacity of 12, which means you’re getting 5 Terminators and then either a Terminator HQ or two non-Terminator armoured HQs in there with them. This tends to see people lean into the Kharybdis as it allows you to go for a block of ten Terminators plus HQs. | Units like Chieftans who don’t have any Dedicated Transport choices must be purchased either a Kharybdis or Dreadclaw, and have no option to purchase a Legion Drop Pod for a cheaper option. Although this is very Sons of Horus specific, there will be other units out there that are similarly impacted. Dreadclaws don’t have Assault Vehicle, so you can’t assault out of them upon arrival. This means that your unit needs to survive on average three shooting rounds – intercept, shooting in the opponents turn and overwatch. |
| When taken as part of a detachment with this Rite of War, any units composed of models with the Dreadnought type must be given either Legion Dreadnought Drop Pods or Dreadclaw Drop Pods as a Dedicated Transport and may not be selected in units of more than one model. | One Dreadnought, One Pod. Simple. You’re losing out on Dreadnoughts, but if you’re taking more than 1 per 1,000 points anyway (especially Contemptors), then you probably need to have a word with yourself. | Note that as this is a generic rule, you can still take a Leviathan in a Kharybdis as it is a specific rule for the Leviathan as a Dedicated Transport. Therefore you can bomb two Leviathans in two Kharybdis natively for some hefty threat value. |
| Limitation | Remarks | 2nd Order |
| All Units in this Rite of War selected with Legion Drop Pods, Dreadnought Drop Pods, or Dreadclaw Drop Pods as dedicated transports must deploy as part of a Drop Pod Assault. | This is the core of the Rite, so whilst it’s listed under Limitations, it’s actually an effect. It merely indicates what rules and framework you must deploy under. | Any Heavy weapons mounted on infantry with no access to Relentless will be snapfiring on the turn they arrive. This mainly applies to Recons with Nemesis Bolters, and Heavy Support Squads. |
| You may not take fortifications. | No biggie, you’re the primo-alpha strike, you shouldn’t be the one castling up in fortifications. | |
| Any models selected as part of a Detachment that do not have a Legion Drop Pod, Dreadnought Drop Pod, Dreadclaw Drop Pod or Kharybdis Assault Claw must be placed into reserve and cannot enter into play in any alternative deployments. | This can be limiting if you’re spreadbetting an army, or having to take something that is needed for a specific target in a narrative/event army, such as Lords of War. | Effectively, you just want to get your points worth of pods and contents in most games. This just means that you are pretty much going to have some form of Deathstar rolling about in the list somewhere. |
So it’s pretty much a Rite of War with good effects only right? Well, lets look at the interactions with Drop Pod Assault.
Table Interactions & Dramas
Drop Pod Assault was included in the second FAQ in 2023. Basically, the process for Drop Pod Assault is:
- Place the first Drop Pod on the table, rolling for Scatter, reducing the rolled distance by half for Inertial Guidance, or the minimum required for impassable terrain. Once the final position of the first Legion Drop Pod, Legion Dreadnought Drop Pod, Legion Dreadclaw Drop Pod or Legion Kharybdis Assault Claw has been established, place all Legion Drop Pods, Legion Dreadnought Drop Pods, Legion Dreadclaw Drop Pods or Legion Kharybdis Assault Claws in the Drop Pod Assault on the battlefield according whether the Reserve action was Disordered or not, applying the Inertial Guidance reroll if necessary, within 24″ of the first Drop Pod.
- Any enemy units within 6″ of a Legion Drop Pod, Legion Dreadnought Drop Pod, Legion Dreadclaw Drop Pod or Legion Kharybdis Assault Claw in the Drop Pod Assault must take a Pinning test.
- Any unit that is Embarked on a Legion Drop Pod, Legion Dreadnought Drop Pod, Legion Dreadclaw Drop Pod or Legion Kharybdis Assault Claw in the Drop Pod Assault that has been deployed as part of the Drop Pod Assault must now Disembark. Note: Legion Dreadclaw Drop Pods or Legion Kharybdis Assault Claws in a Drop Pod Assault must be placed in the Hover mode on the turn they arrive. The Reactive player may select to make the Interceptor Advanced Reaction, targeting any Legion Drop Pod, Legion Dreadnought Drop Pod, Legion Dreadclaw Drop Pod or Legion Kharybdis Assault Claw that has been placed on the battlefield as part of the Drop Pod Assault or any unit that has Disembarked from them.
- Units that have Disembarked from a model with the Assault Vehicle special rule in Step 3 of the Drop Pod Assault process may Charge in the following Assault phase as an exception to the Assault Vehicle special rule.
There are two key aspects for this Rite of War. One is that you really don’t want the first turn, as you’re going to come down and effectively be playing a normal game, just with added risk of lots of Drop Pods coming in. By having the second turn, you’re likely to waste the enemies first turn by forcing them to be more cagey with their movement and anything that impacts gameplay mechanics in a Rite of War is great. The only caveat to this is infiltrating armies, which will be able to get to objectives and dictate the table to you for your Drop Pod Assault. They’re kind of the hard counter to this Rite of War.
The second aspect is that the first Drop Pod isn’t impacted by Disorder, so you want to have the most critical, or impactful Drop Pod to be that first Drop Pod. This is normally a Kharybdis with a deathstar or a Leviathan in it to go charging off into chaos. Disorder is a major detractor to this Rite of War, especially with a prevalence of Vox Disruptor Arrays at events.
Don’t forget that as well as enemy units having to undertake a Pinning test, any models within 3+D3″ of a Dreadclaw or Kharybdis suffer Heat Blast, suffering a S6 AP 5 hit, with vehicles lowest armour value being used in their case.
Now your units have got out of the Drop Pods (there’s no option to stay inside), you suffer Interceptor reactions. This is problematic with Heavy Support Squads and Master of Signals attached in, and I’ve lost an entire Justaerin Squad to that alone. You’re really hoping that the enemies critical units for gunnery are pinned as a result. The enemy isn’t going to shoot at your Drop Pods, as they mean relatively little, and if you have a sizeable portion of your army in a deathstar, that’s going to get smashed. As a result, you need to ensure that you have a wide-threat-gamut and resilience in those units, so that the enemy has to make a difficult decision as to what to target. This becomes even more important when you consider Helical Targeting Arrays can be taken by gunboat Contemptors, Deredeos and things like Sicaran Arcus, which generally have the firepower to majorly threaten the contents of the Drop Pods, with little to no way to counter them.
The last paragraph is only really important to the Kharybdis, as it’s only allowed to do a first turn charge in Drop Pod Assault.

So really, Drop Pod Assault is has a four major limitations:
- Scatter Threat. Ensure you’re around 6″ from terrain or enemy units on average.
- Disorder Threat. There’s no counter to this outside of the Inertial Guidance Reroll, especially if you are facing an enemy with Vox Disruptor Arrays or Arae Shrikes.
- Intercept Threat. Make sure your key units are suitably resilient, and offer a wide-gamut of threat to make the obvious choice less obvious to your opponent.
- Infiltrate Threat. If you’re going second, great, but against infiltrating armies there’s no counter to them dictating the tabletop to you. You’ll have to be ballsy with Drop Pod placement and use the 24″ deployment diameter to your advantage.
Best Practice
That first pod being placed must be the one you need to 100% be your polar opposite John McClane. I’ve mentioned it three times now so far (?) but it’s genuinely something that can be forgotten in the excitement of the playing and it has the potential to ruin your entire game.
Tabletop Control should be your objective. If you’re popping down a Kharybdis, you’re looking at placing it around 6″ from enemy units and/or terrain on average. Impassable terrain or board edgers can be popped down closer to due to Inertial Guidance bonuses – so don’t fear those corner of the table or opponents deployment edge drops. The model size is around 8″. So you effectively now have a 32″ threat range diameter on a 48″ wide table for the other pods to come down within. You can hem in the enemy to their deployment zone, but equally, you could simply control the objectives with your Line units and put the nasty stuff into the enemies face simultaneously. This adds more complications to the opponent, especially in missions where you can burn objectives throughout the game turns, as it adds a mental pressure of knowing they have to split fire to kill Line units to avoid a Victory Point runaway.
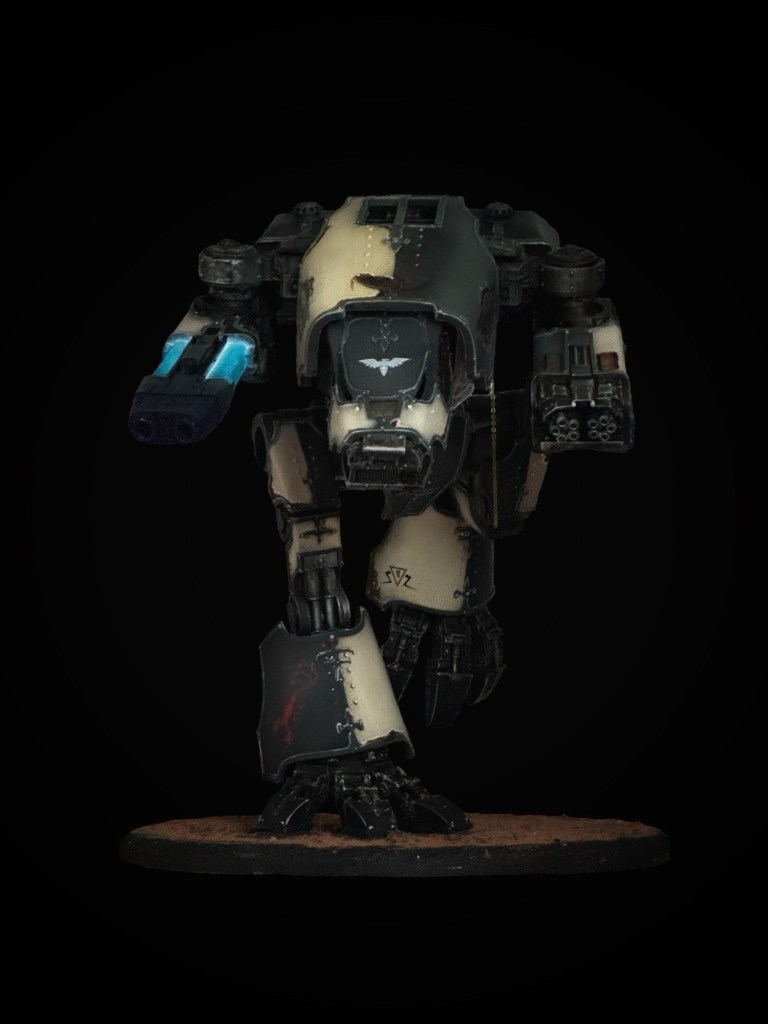
Whilst Deathstars are clearly going to come in clutch for Drop Pod Assault, you must have threat spread across your army. You need to consider how you’re going to get that massive initial gameplay impact that the Rite requires to get the best from it. You could do this by taking gunboat Dreadnoughts such as the Leviathans (double Cyclonic Melta Lances) or Contemptors in a similar pattern in Dreadclaws or Dreadnought Drop Pods. There’s also something to be said about popping in two units of your steely-eyed-death-dealers into Kharybdis Drop Pods (pural) to majorly threaten your opponent. This doesn’t have to be infantry, who are likely to get mobbed by interceptor unless they’re Battle Hardened, but could be Dreadnoughts or even your Primarch in one. Dreadnoughts fit the bill nicely as all-melee Dreadnoughts are likely to put the shits right up an opponent, so if you have a small retinue and Warlord in another Dreadclaw, they’re unlikely to be hit with interceptor, and can move and charge into whatever is left on the second turn whilst your opponent panic intercepts into and tries to deal with the Dreadnoughts.
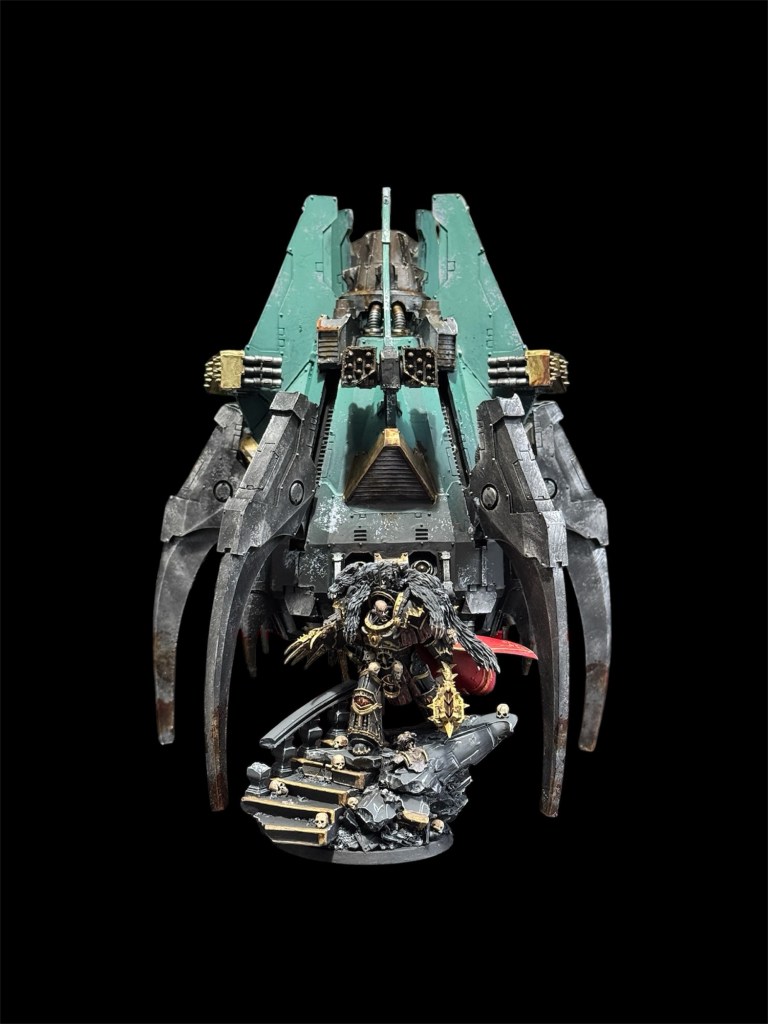
You probably want to centre this army around at least one Kharybdis. They’re great force multipliers with their access to Heat Blast when landing and flying over units subsequently. They also have access to Deathstorm, which is 9 Str 6 AP 4 Pinning shots, each at up to 4 units within 18″. That’s massive for tabletop control. The balance to this is they have Limited Ammunition – rolling a D6 and adding +1 if it’s been fired in the same battle. If the roll is a 6 or more, it is out of ammunition and can no longer fire. Sometimes this happens on turn one and it’s a bit of a downer. Other times the game ends or the pod is destroyed (normally because it’s become a major irritation/threat) before the Kharybdis runs out of ammunition.
You also need to consider how you’re going to get your Line units in the army. Dreadclaws (115pts), Dreadnought Drop Pods (100pts) and Kharybdis (235pts) are major points sinks that will remove the ability for you to field loads of Line as well as those specialist units that you want to play. It’s best, therefore, to pop Line in your list first of all and then build the rest out from there, making compromises as required as a last step. You still want around 1-2 Line units per 1000pts to give yourself the opportunity to recover in terms of victory points from an absolute failure of deployment that can and does occur in this Rite of War.
Summary
Drop Pod Assault has some amazing strengths going for it, not least the ability to remove a players game turn by going second, dictate the tabletop by hemming in the enemy and delivering a brutal alpha strike. However, it isn’t an auto-take as there are four major limitations, three of which you’re likely to run into on a regular basis. I use it as a narrative-based alternative to give me a palette cleanser from Black Reaving. It’s fun, lets me use some of the most glorious models in the game and a suitable blend of effective, but swingy.
Example Lists


Do you find your lists struggling from scoring games? Line seems lacking, Im making my DPA with loyalist EC (ew I know, but Istvaan 3….)
LikeLike
No, I tend to have 3-4 Scoring units in a 3,000pts army with one of those usually being Justaerin with a Banner. It offers some flexibility to usually engage and destroy a unit on objectives and either remain to secure an objective or move on to kill another unit and then swing back to secure an objective if time remains.
If I’m playing with my friends we run Implacable Advance rules from 1.0 where troops choices can score (or anything moved to troops by a Rite), but that Line units overrule the ownership of an objective from a non-line troops choice. Works really well.
LikeLike